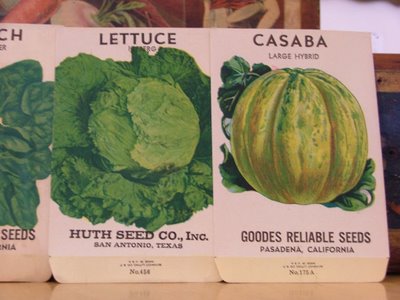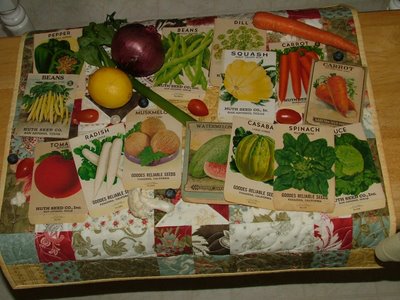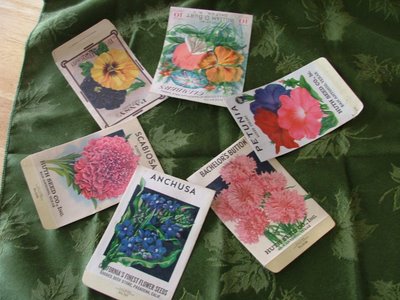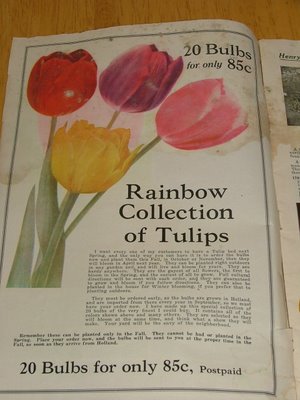
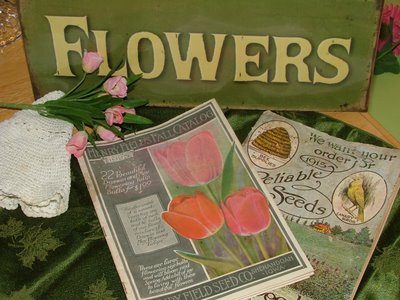
Here is the old seed catalogues as promised. Notice the one on the right is 1915 and the one on the left is 1925.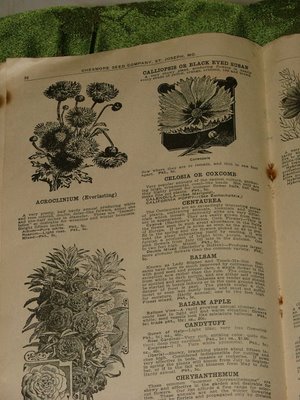
Old Seed Catalogues
Posted in Uncategorized
Seed Packets
Posted in Uncategorized
Seed Display Box
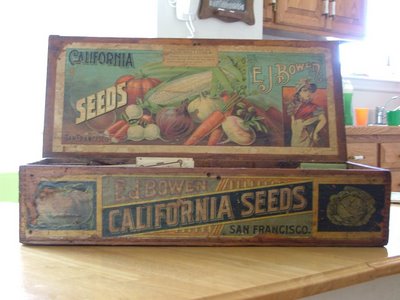
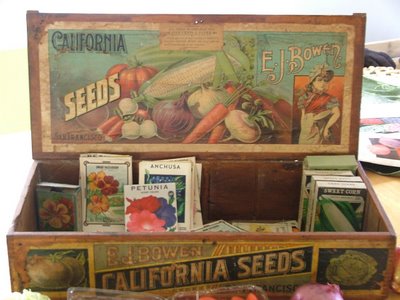
Here is an old seed display box that we found at a garage sale. It is an E. J Bowen, San Francisco, California Seeds display flat box.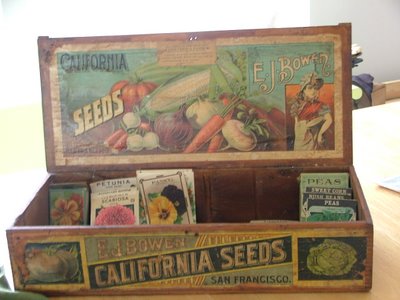
It came with several old seed packets and catalogues. I’ll post those in the next couple days.
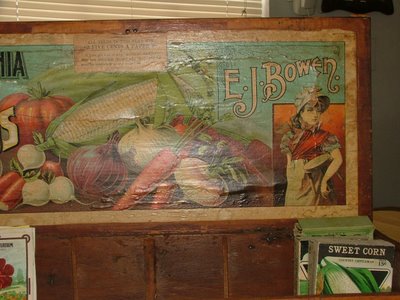
It says that “all seeds are five cents a paper.” Pretty good deal.
Posted in Uncategorized
Book Shelf

Posted in Uncategorized
Walk in Shower

Here is a walk in shower with a glass wall. The glass wall was added mostly for more light in the shower area. I do not remember the name of the tile, but I am assuming that it is an Italian style. In the bathroom area, the tile is a 12″x18″. This size can be laid at an off set each row and it looks awesome when you do. A 2″x4″ was used to block up the entrance to keep water from backing out. It was wrapped with backer board, then tiled over. The tip that I can give in laying tile is to find what catches your eye when you walk in (wall, tub,…) and use it to run parallel with it. When you lay your tile, hit it with a rubber mallet (not to hard, especially when doing walls). This helps it seat better. Also I have seen to many people use the wrong color grout (white tile with black grout). Your eye should go to the tile, not the grout lines. Make sure that your grout compliments your tile.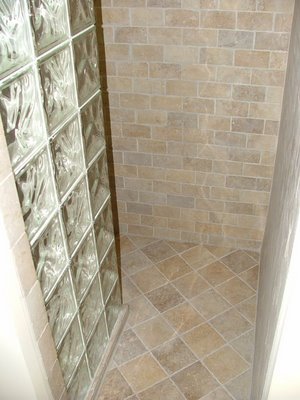
The floor was concreted with it all sloping to the drain in the middle. The tiles on the wall are the size of actual bricks (just a 1/4″ thick). Each one had to be placed on the wall individually. The tile went up to the ceiling. Yes, it was a huge pain and it took forever.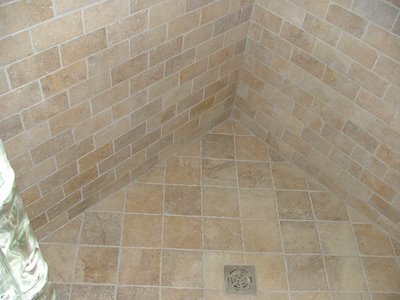
The floor tiles are 6″x6″ ‘s, laid diagonally. Laying them this way looks the best, but you have to cut on at least three times the amount compared to laying it parallel with the walls.


