Bush Trimming
Proposed Tools:
- Hedge Trimmers: manual, electric or gas
- Long reach hedge trimmer if needed for high bushes
- Mixed gas
- Hand pruners
- Loppers
- Gas blower
- Garden Rake
- Leaf Rake
- Pitch fork
- Push broom
- Tarp or trash can
- Hand saw and/or chain saw
- Safety glasses, ear plugs, gloves, long sleeve shirt
It’s Time to Start Trimming
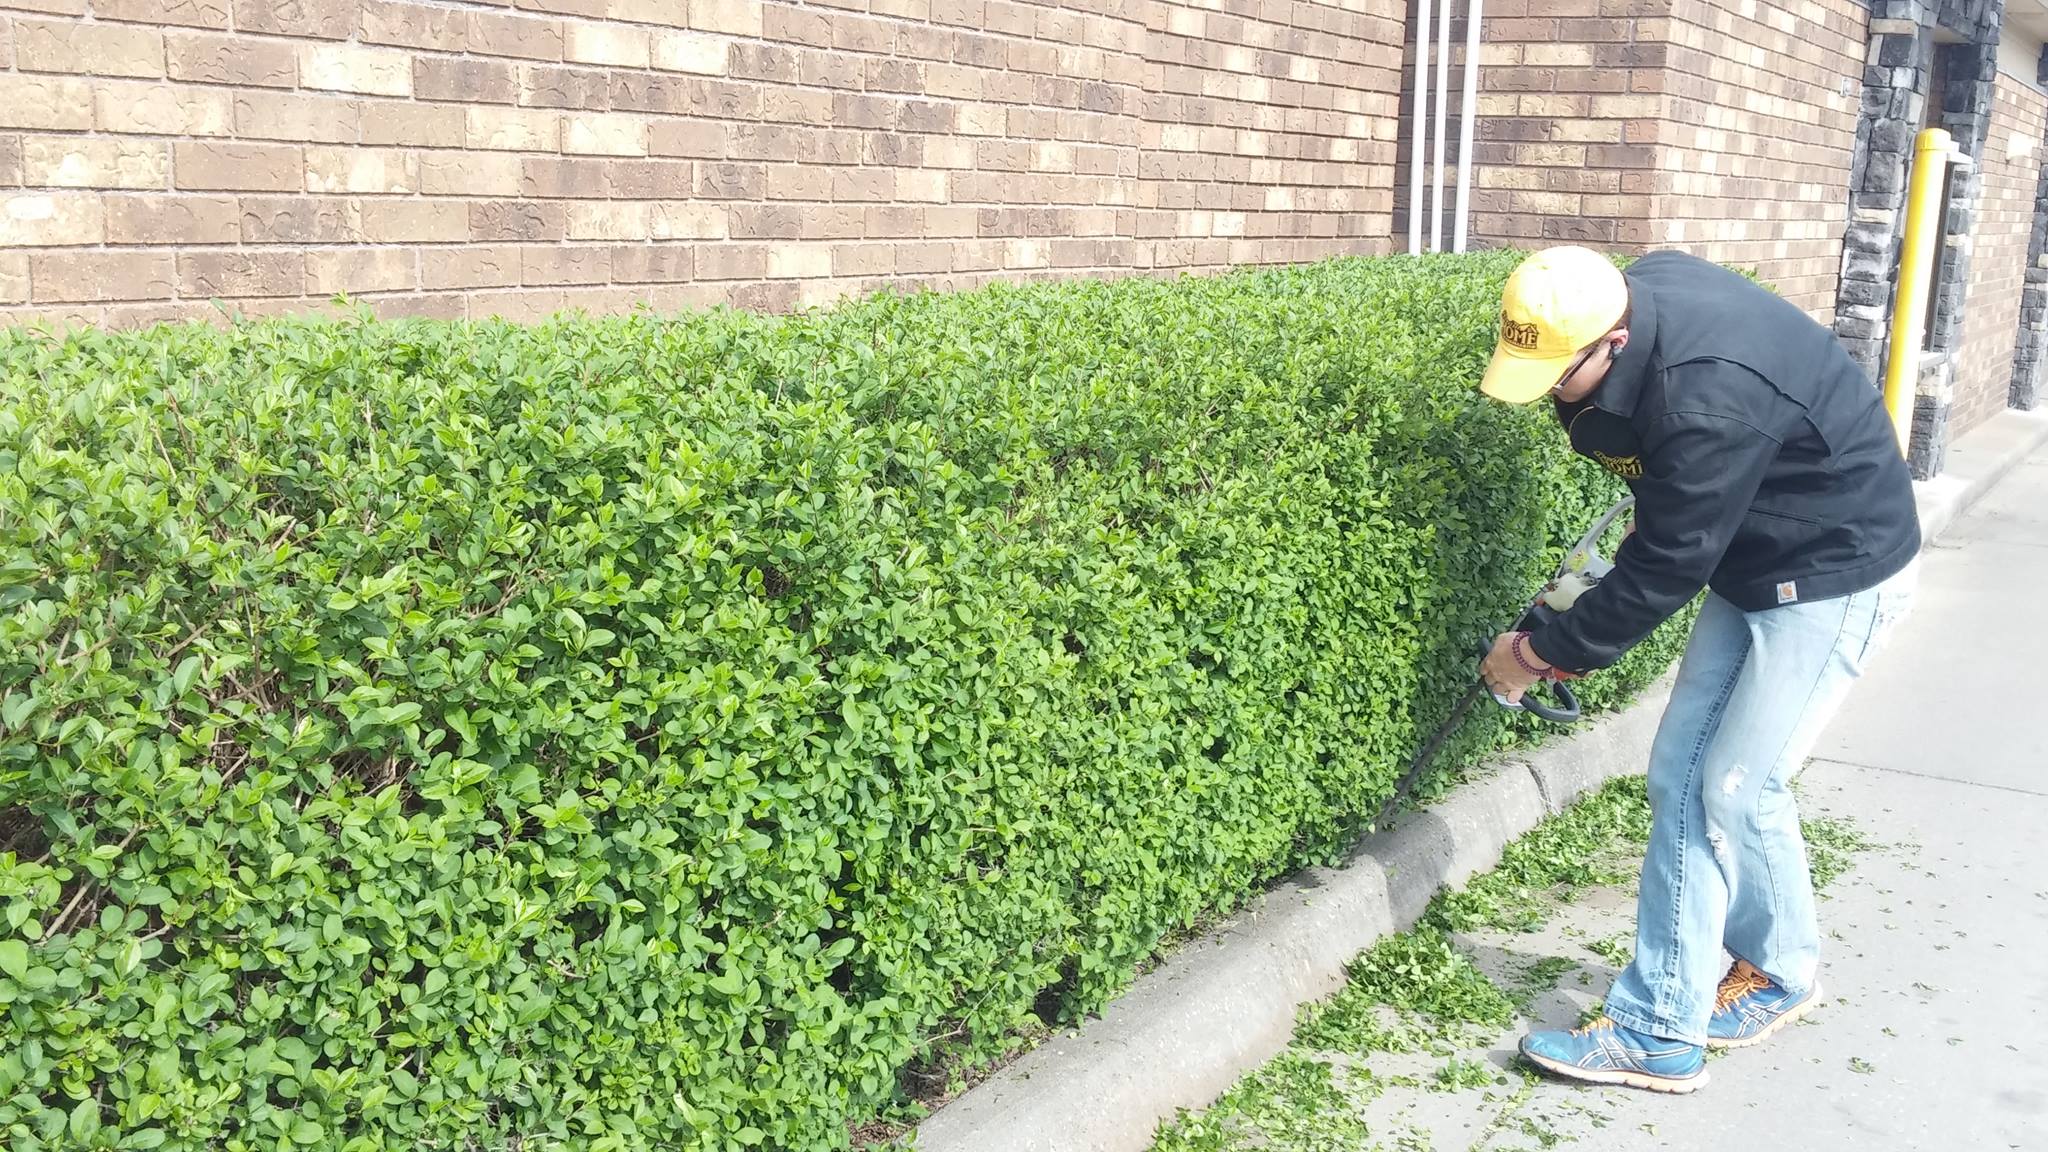
Trimming a hedge line in a restaurant’s drive thru lane
- Before starting, put on your safety glasses, ear plugs, gloves and possibly a long sleeve shirt.
- Look around and in the bushes to be sure there are not any pipes that support the bush, sprinkler heads, or landscape lighting or wiring hidden in the bush.
- Access the bush to see if there are any pest issues, future problems or diseased or dead branches. Are the bushes crowding each other. Do some of the bushes need removed?
- Look at the natural shape of the bush and try to recreate it (round, sphere, vase,…)
- Cut off bush at desired height.
- Automatically trim bushes back 12” from the building to avoid wood rot issues on your home.
- Find the center of the bush from an aerial view. Create a circle, square, or rectangle shape depending on desired end result. If possible have the bush cut back so it is not hanging over walkways
- If the plant is vase shaped make the bottom of the bush narrower than the top creating a V-shape
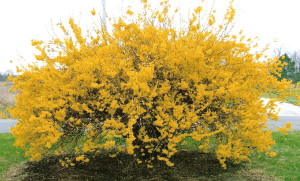
Before: A Forsythia bush that is out of control.
After: This 8′ Forsythia bush had a natural vase shape
- If you are trimming multiple bushes in a line (hedge). Trim the entire front the same distance from the sidewalk/fence (or other guide). Make it as straight and parallel as possible. Trim the sides: square up sides and front
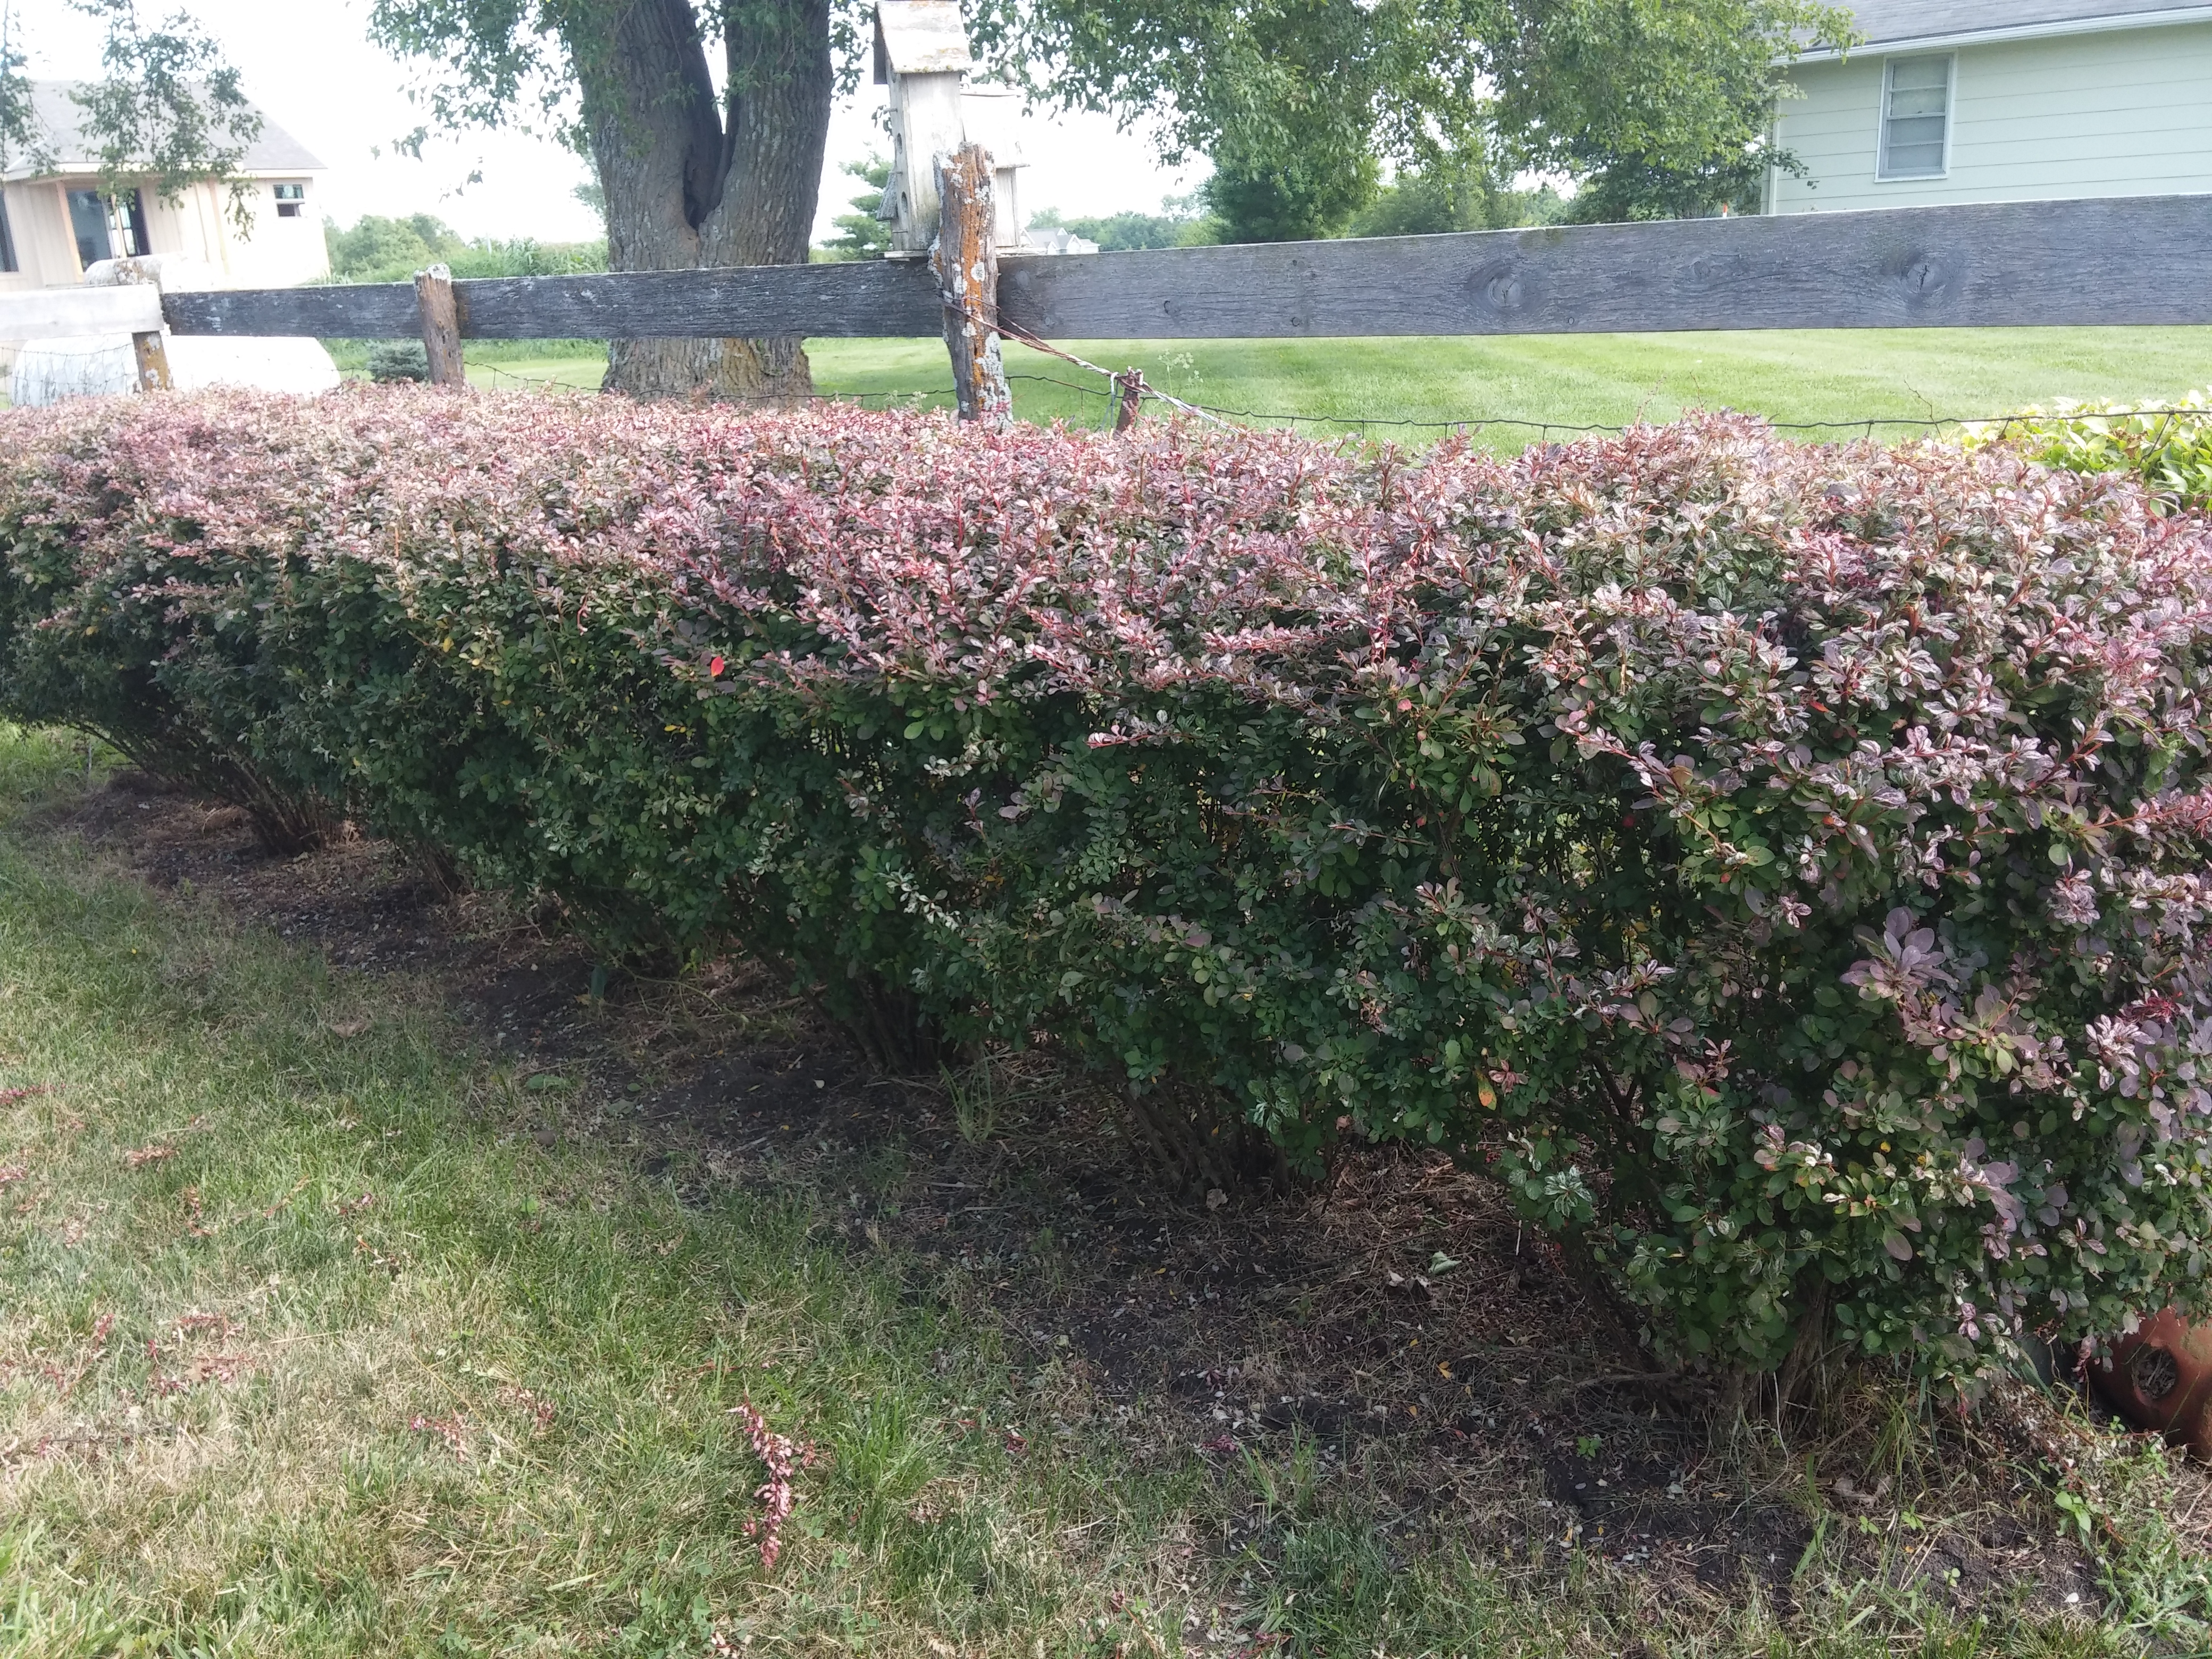
Here are multiple barberry bushes that has created a hedge
- If the end goal is for it to be round, round off the corners to create the desired shape. Be sure that it is round and not egg shaped. A round bush should not have any corners.
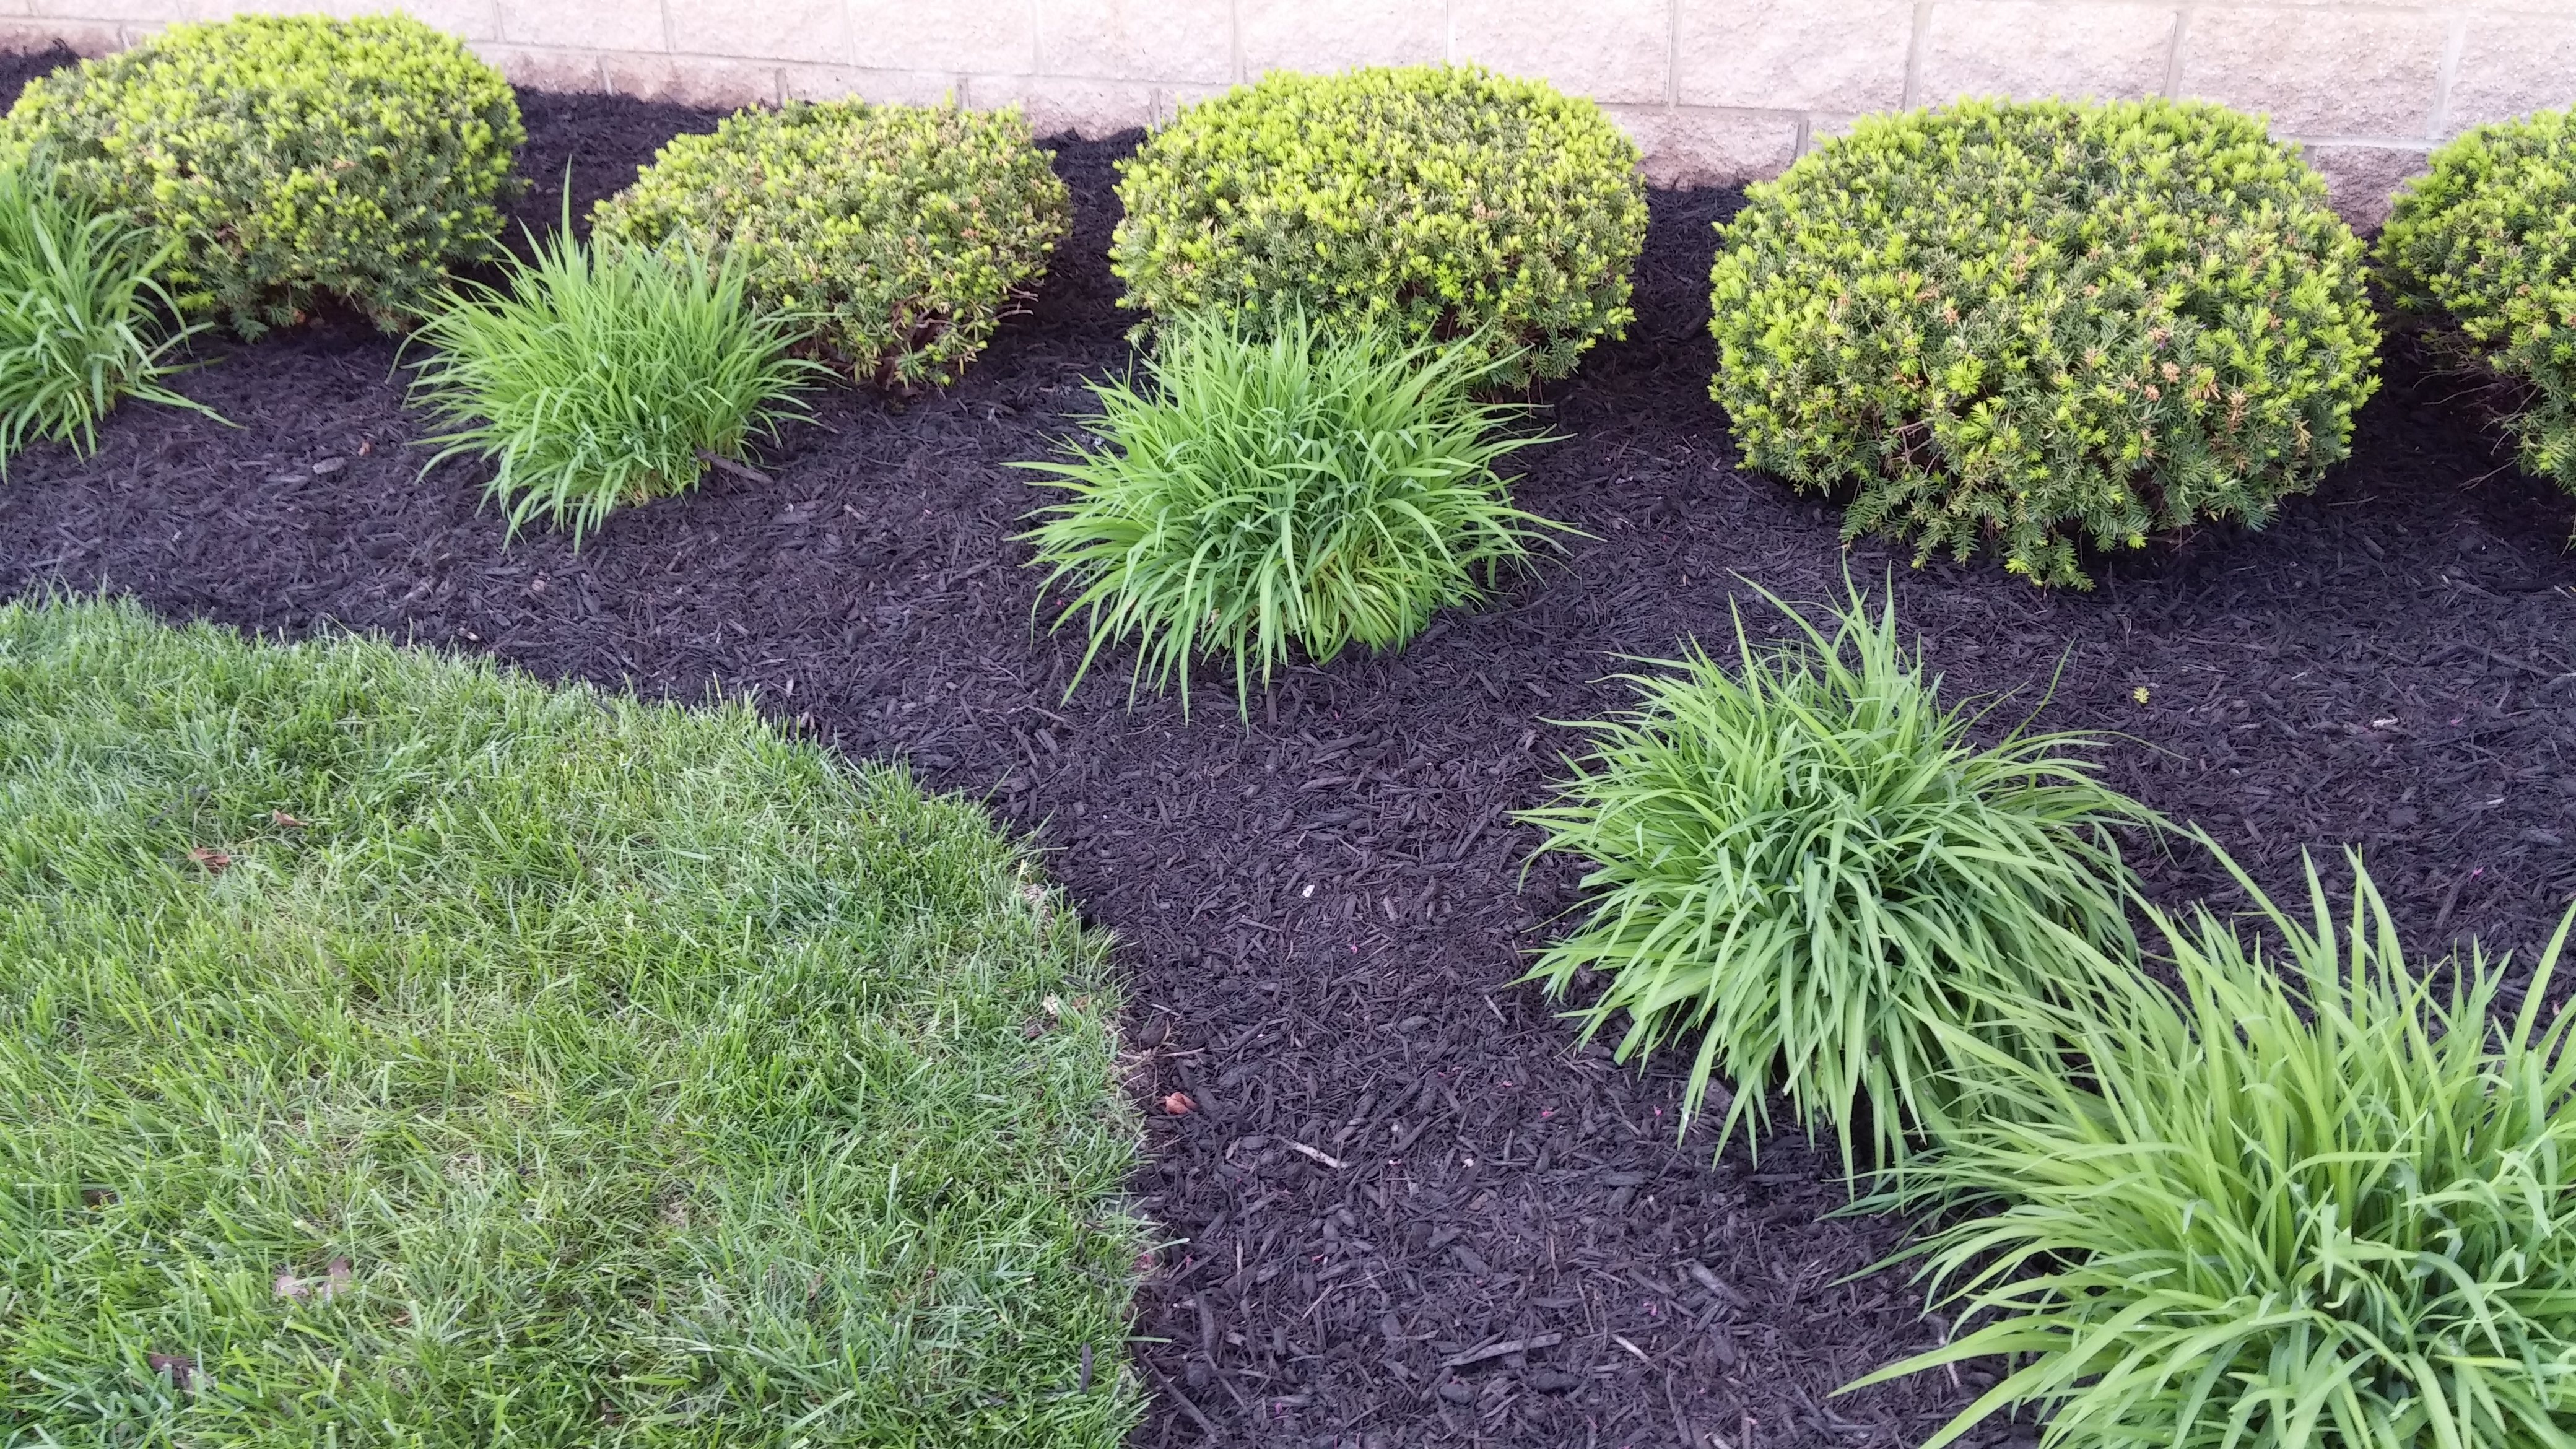
Everyone loves a manicured landscape
- Lift the bottom of the bush on vase shape bushes so the trunk can be seen. On round bushes, curve the bottom edge under to match the top so bush is completely round. On square bushes, cut at an angle just so the bottom is all the same height and there are no fly a ways.
- Throughout the trimming process, step back and look at the bush from different angles if needed to make sure that you are not cutting it wrong.
- Similar bushes in the landscape need to be shaped the same shape and height.
General Information:
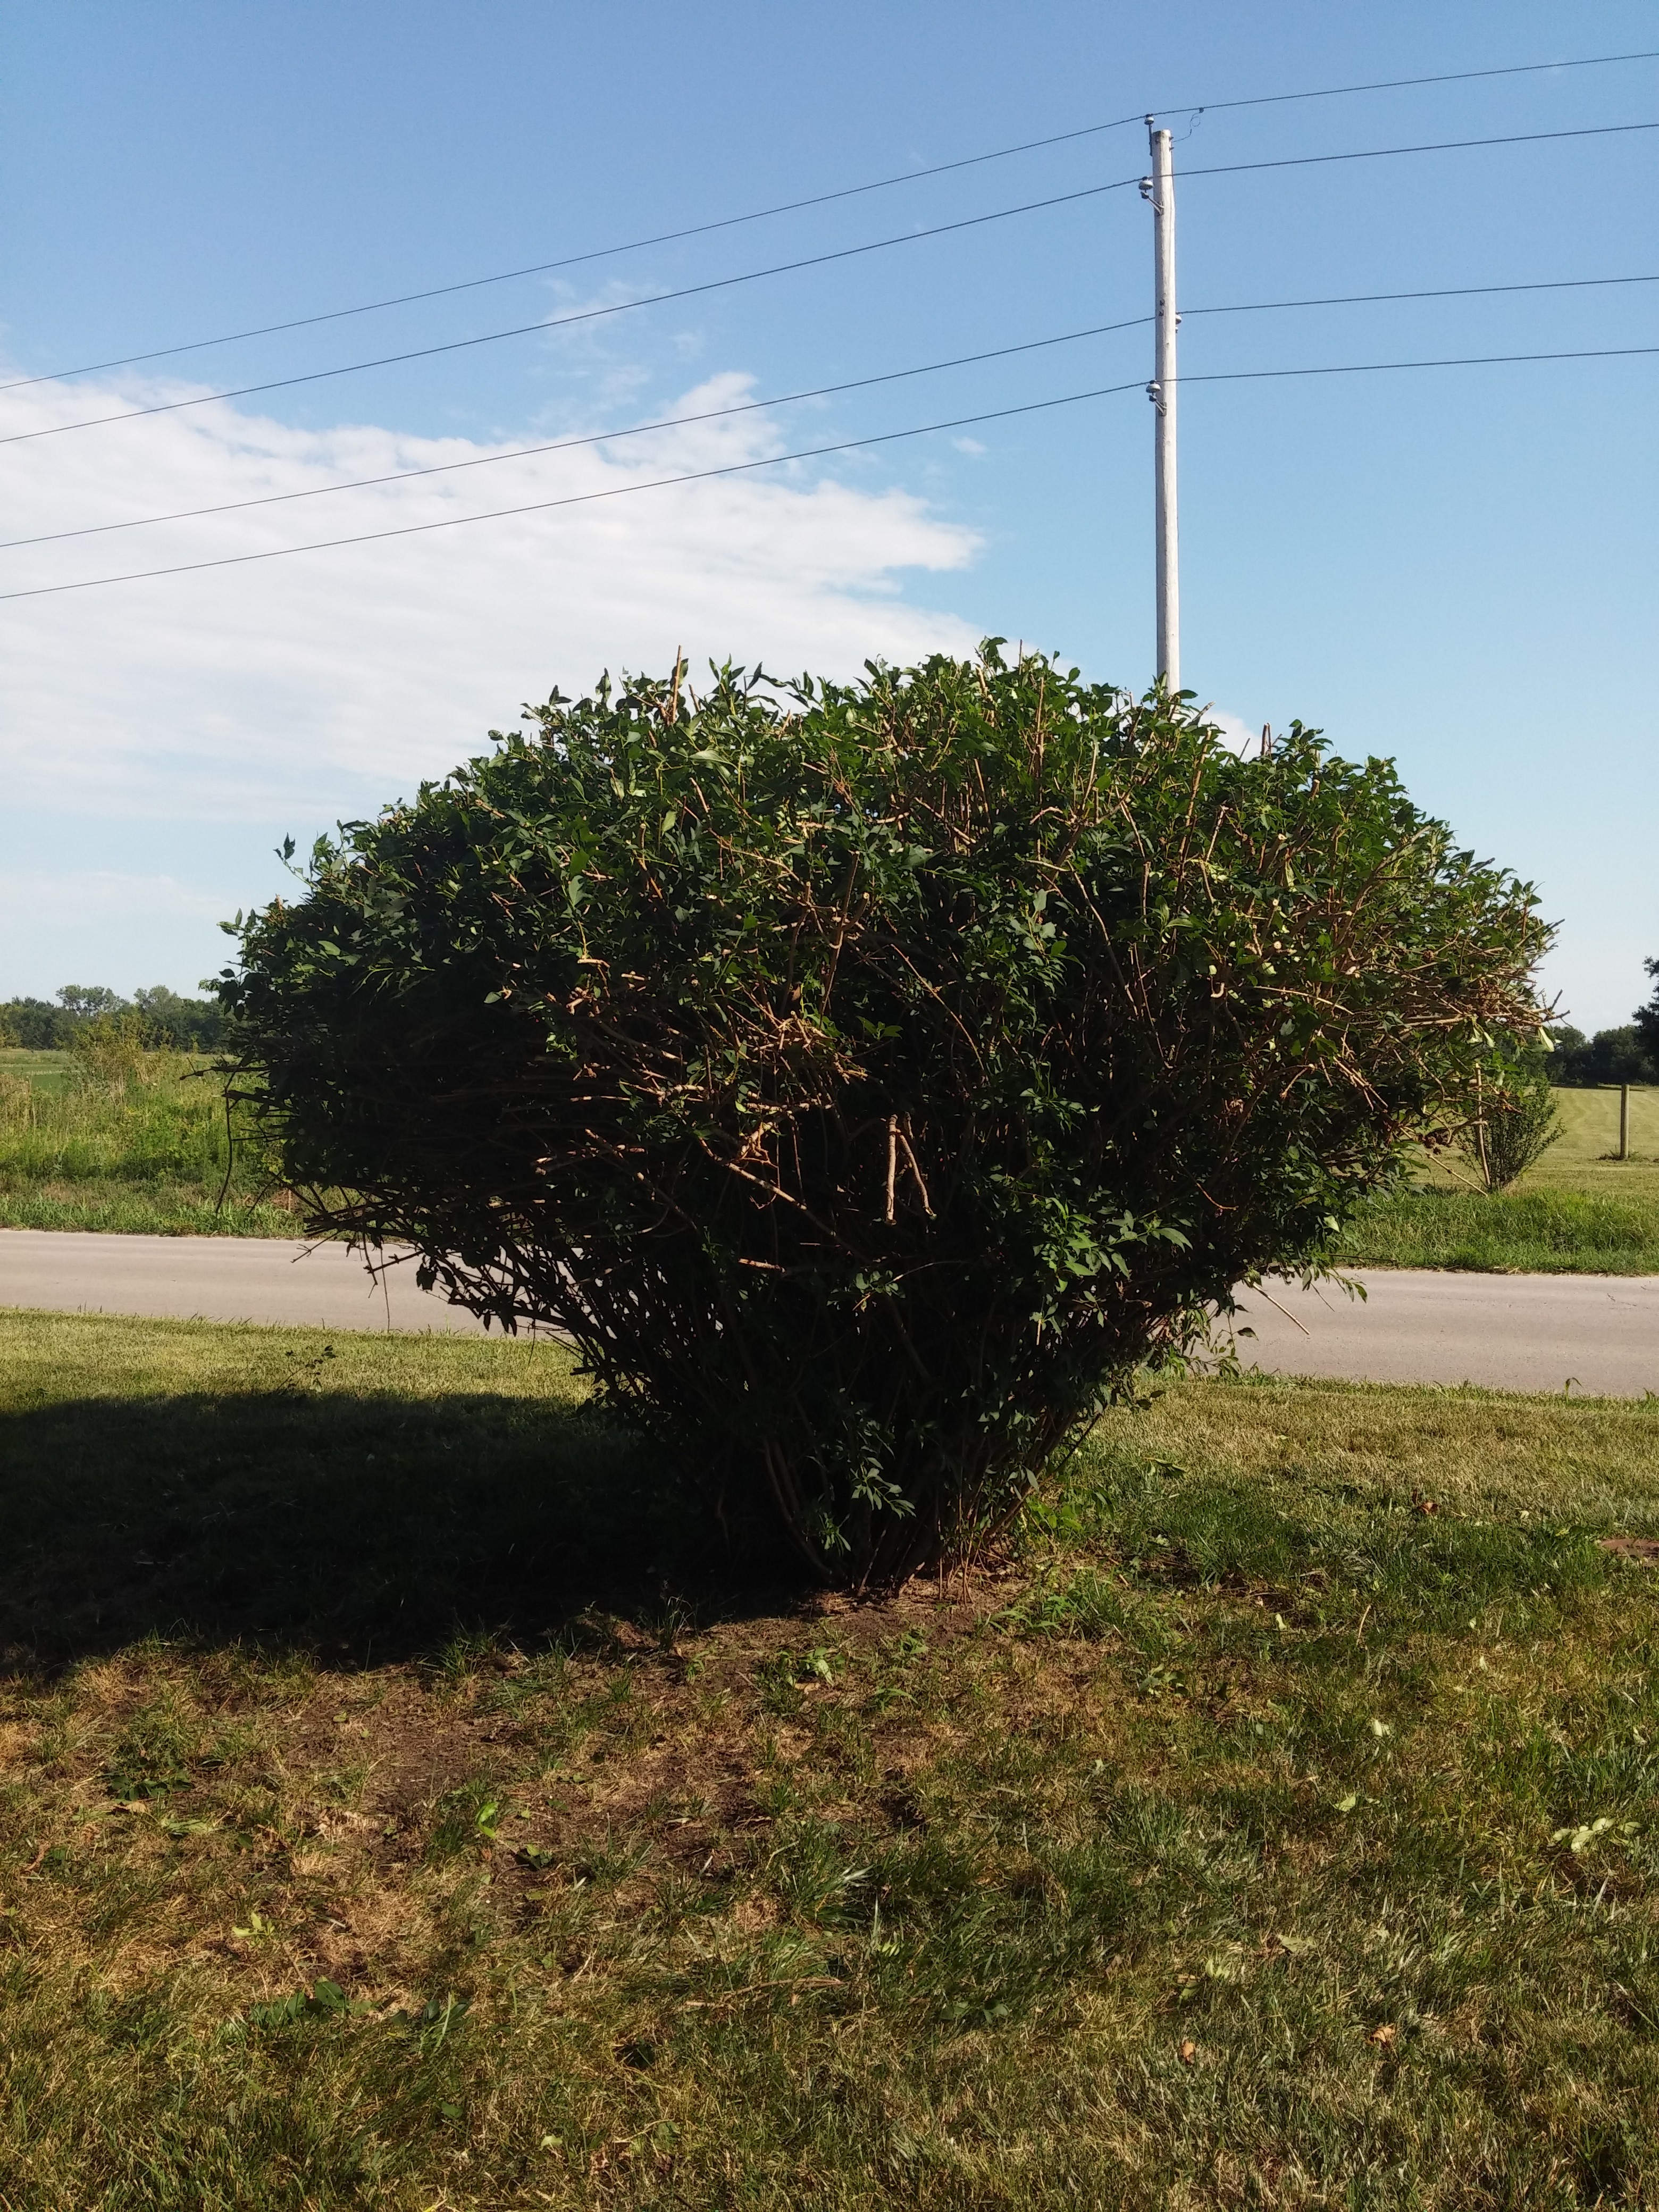
Never cut more than 1/3 of the bush off in one trimming. Normally one can cut up to 1/3 off a bush on normal temperature days or up to where there are still leaves remaining (whichever comes first. One does not want holes left in the bushes).In excessive heat do not trim more than a ¼ of the size of the bush off. The bushes that are regularly maintained will usually only need to be cut back to the size of the last trimming before it grew. To cut more than a 1/3 off has to be done in late fall or winter when temperatures are cooler.
Only trim flowering bushes after it’s bloom cycle so you don’t lose any of next years blooms. Knock out roses would be the only exception to this rule since they have multiple blooming cycles: Knock out roses can take a little more aggressive trimming if needed. Typically, in the spring; they are cut back hard to 12”-18” leaving the main stems. They are then allowed to grow and as the season progresses; the tops are rounded off after each blooming cycle or if they are getting out of control. The bottom usually retains a vase shape.
Trim flowering bushes after their blooming cycle so you don’t loose any flowers the next year
At times, a few bushes in one area will grow more than others in the landscape. The larger ones will need to be pushed down (if allowed) and the smaller ones will need less taken off. When you are done, they may not all be equal in shape and size, but after several trimmings they will be if you work towards it.
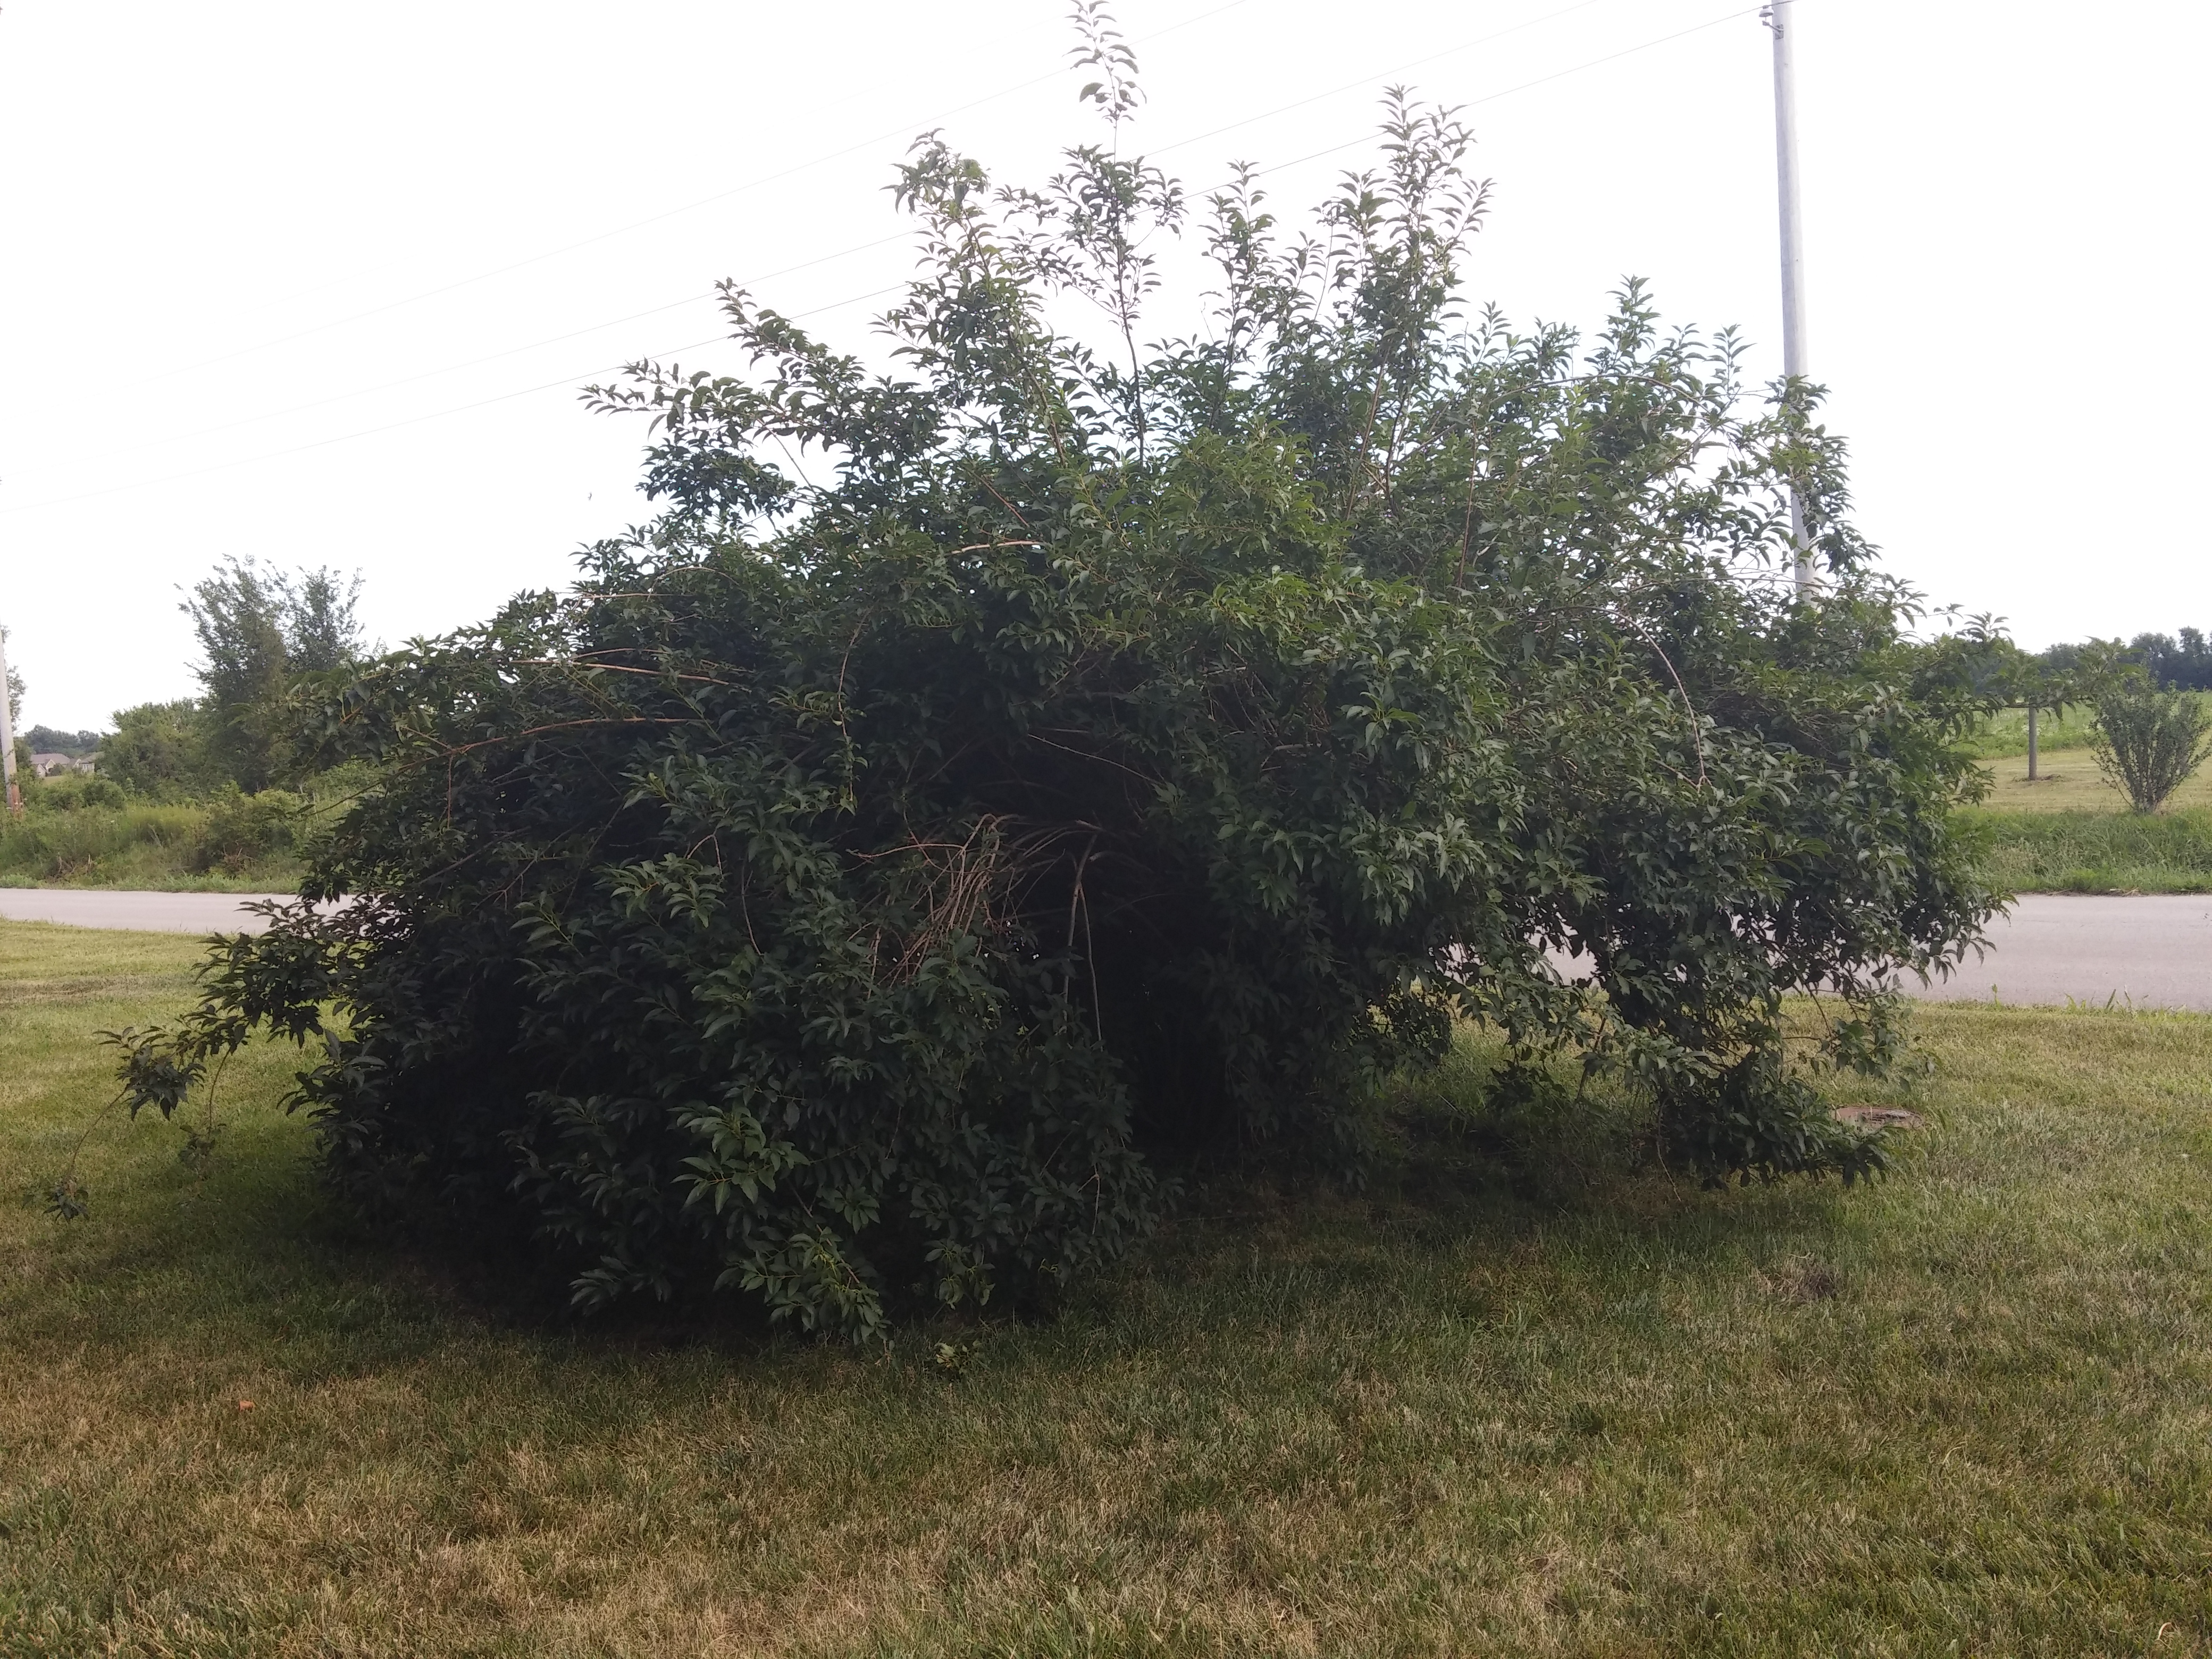
Some bushes are just wild in nature and cannot easily be contained to a specific size or shape. Do not trim those to a shape; just randomly cut back branches to look natural
Use your loppers or hand pruners to remove any dead, damaged, diseased, or odd shaped limbs from the bush. This might create a hole, but after time, it will fill in.
Do not change the shape or size of a bush drastically in one try.
Evergreens trim lightly to create desired shape. Do not cut in extreme heat. Cutting too much can leave bare spots or stress the bush.
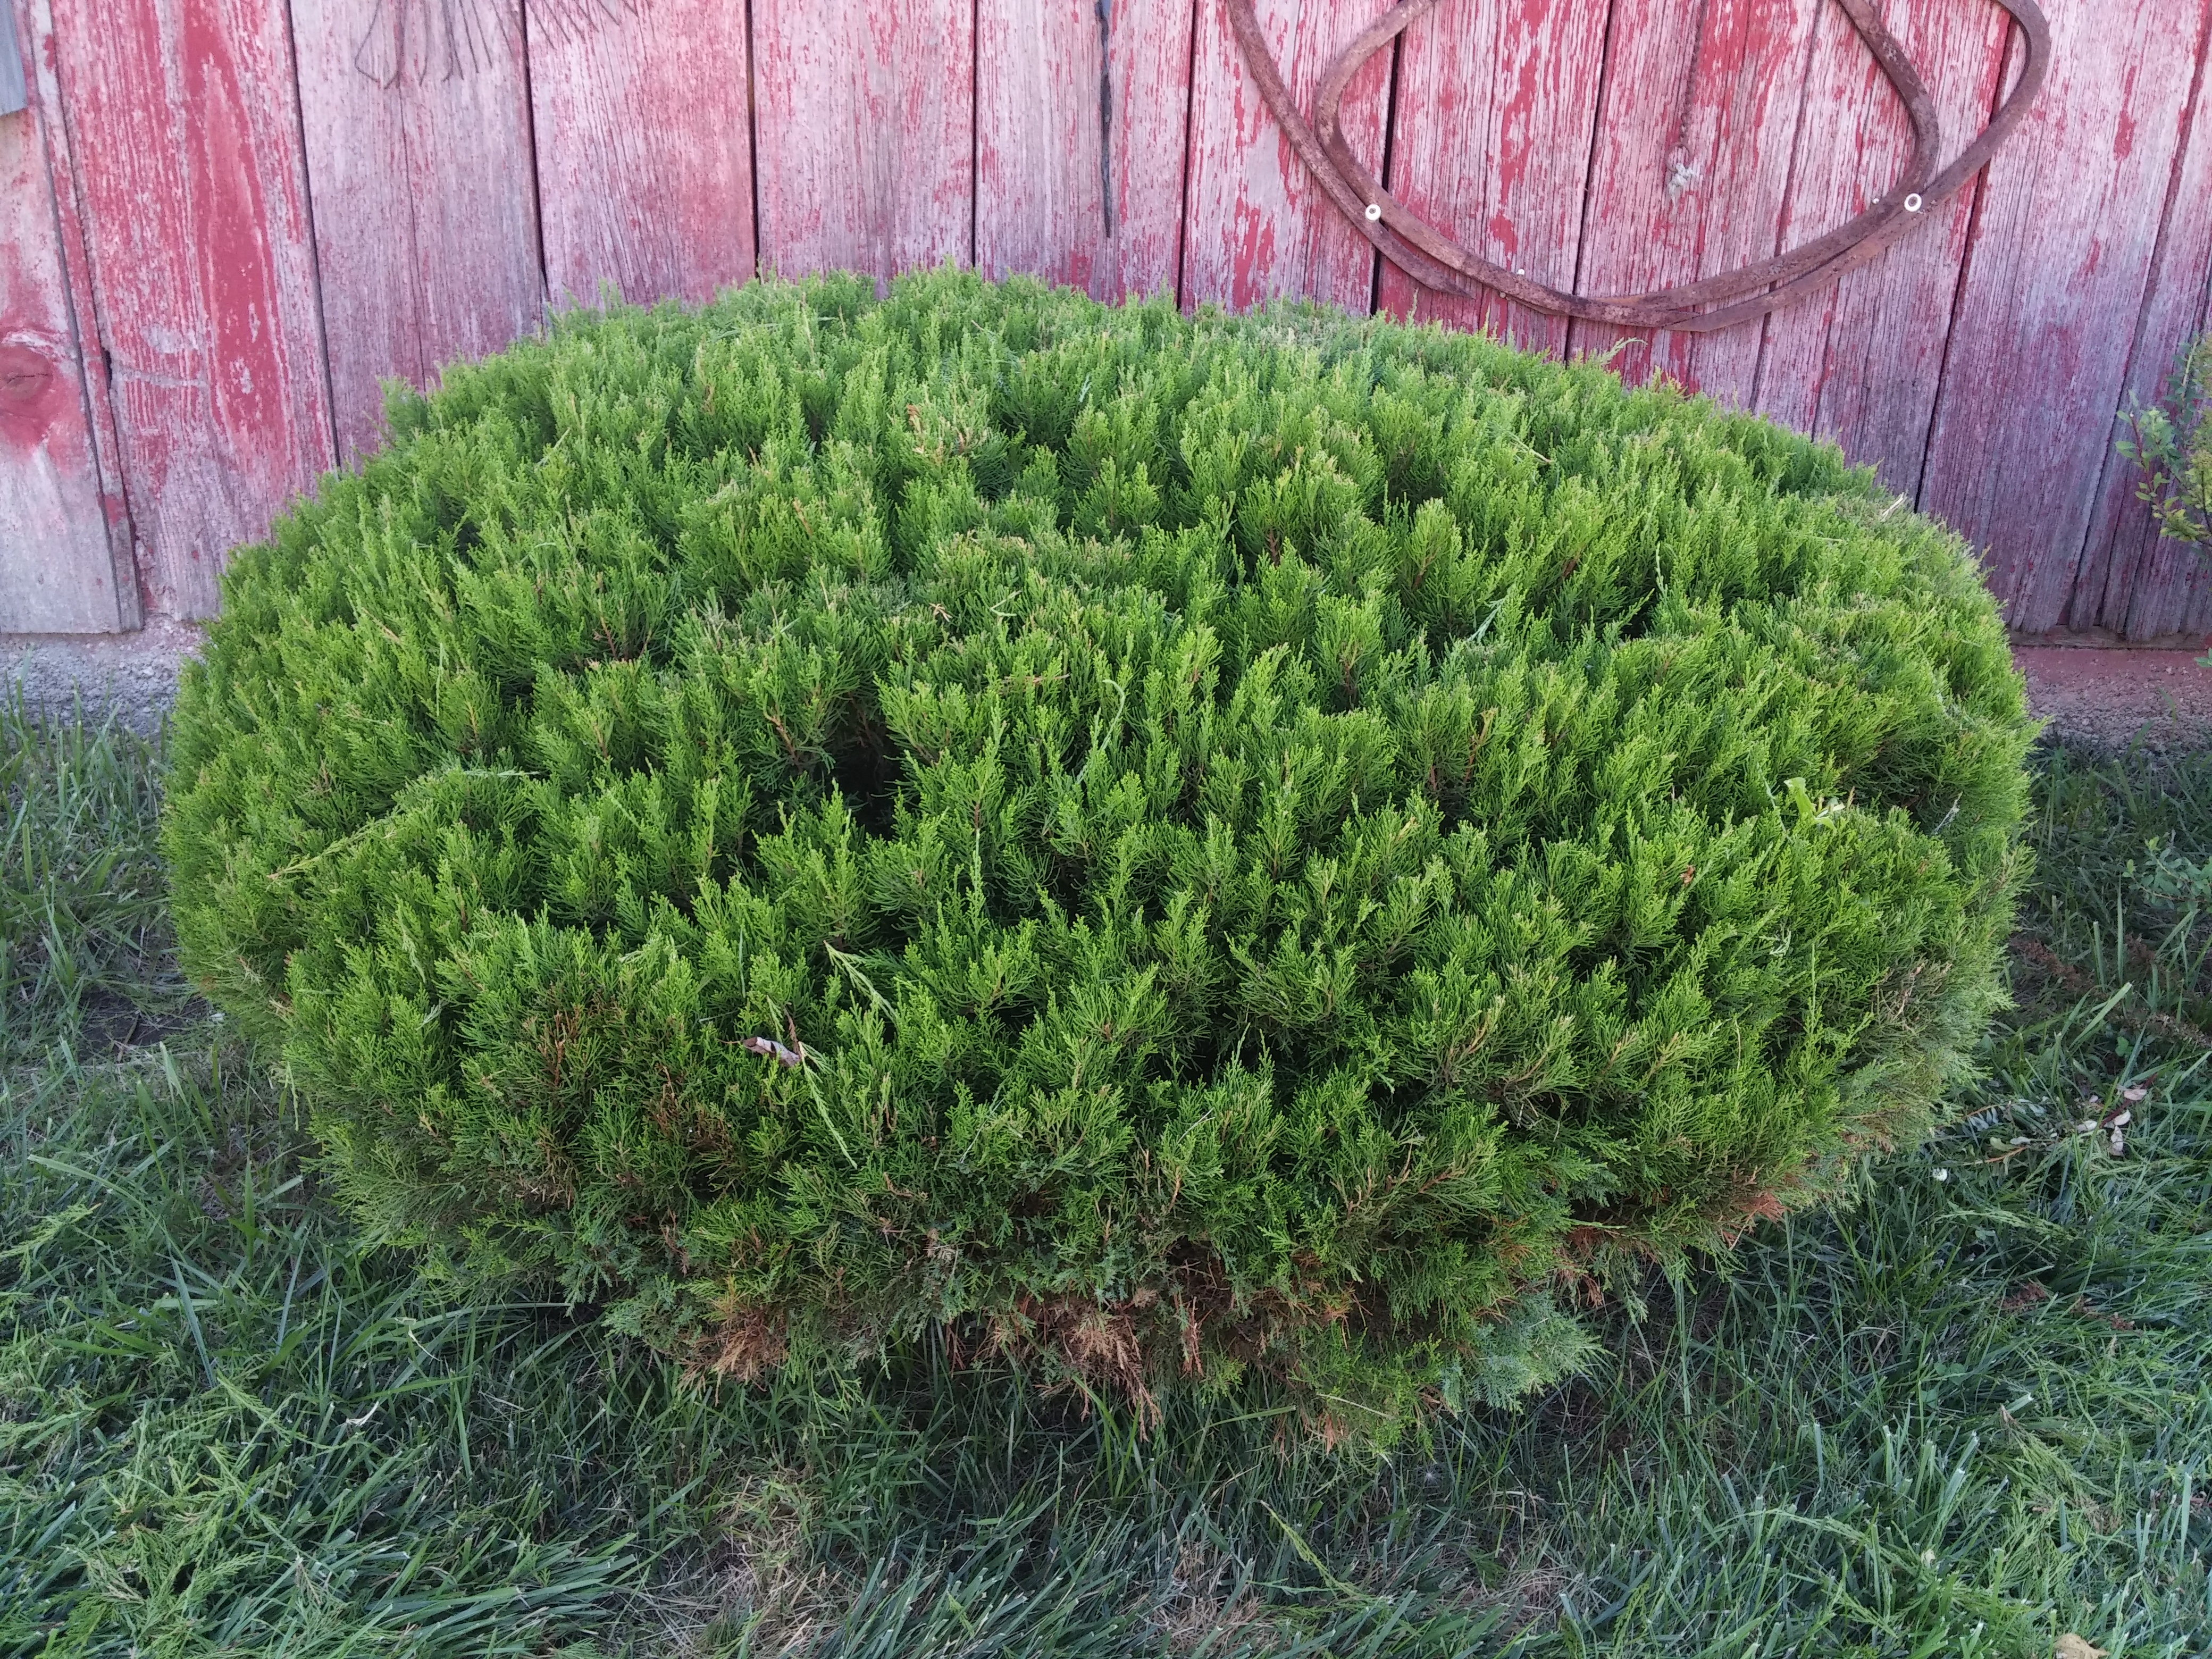
This large juniper bush was lightly trimmed in the heat of the summer
Remove suckers at base of trees and bushes
Remove crossing branches and rubbing branches since they will eventually cause trauma and/or disease to the bush
Remove competing plants or excess plants (volunteer trees usually grow within bushes). Hand pull or cut with pruners.
Yucca plants: Thin to odd # of stalks (1, 3, 5,..) Cut out dead.
Tighten up perennial plants and do not let plants invade neighboring plants. Thin as you see necessary.
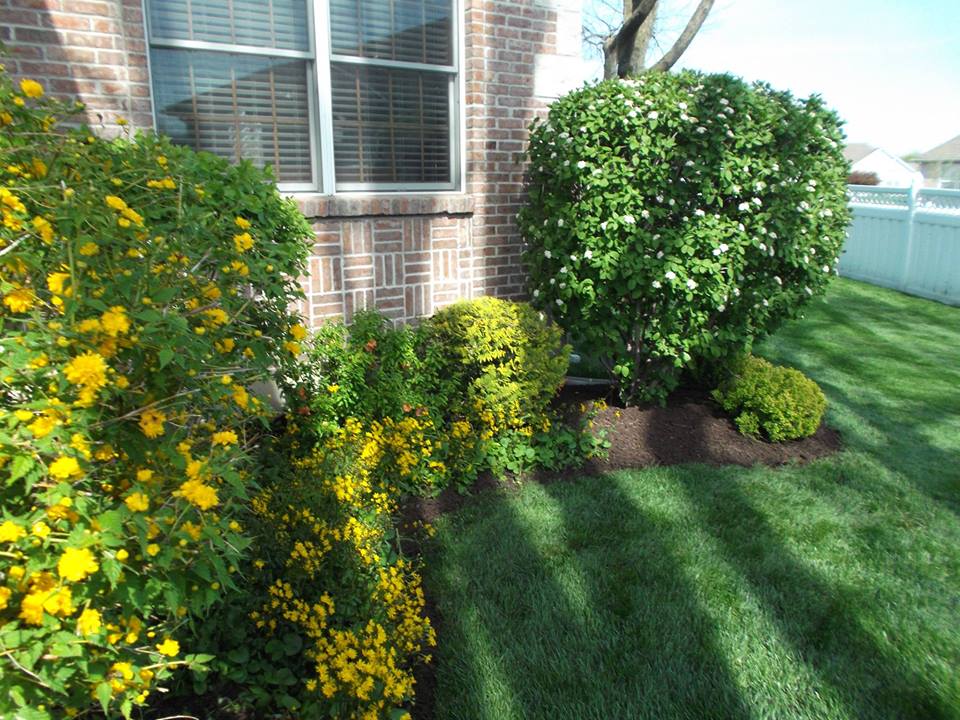
As you are looking at your landscape; is it missing seasonal color or interest? If it is missing seasonal color and interest; find a way to add it.
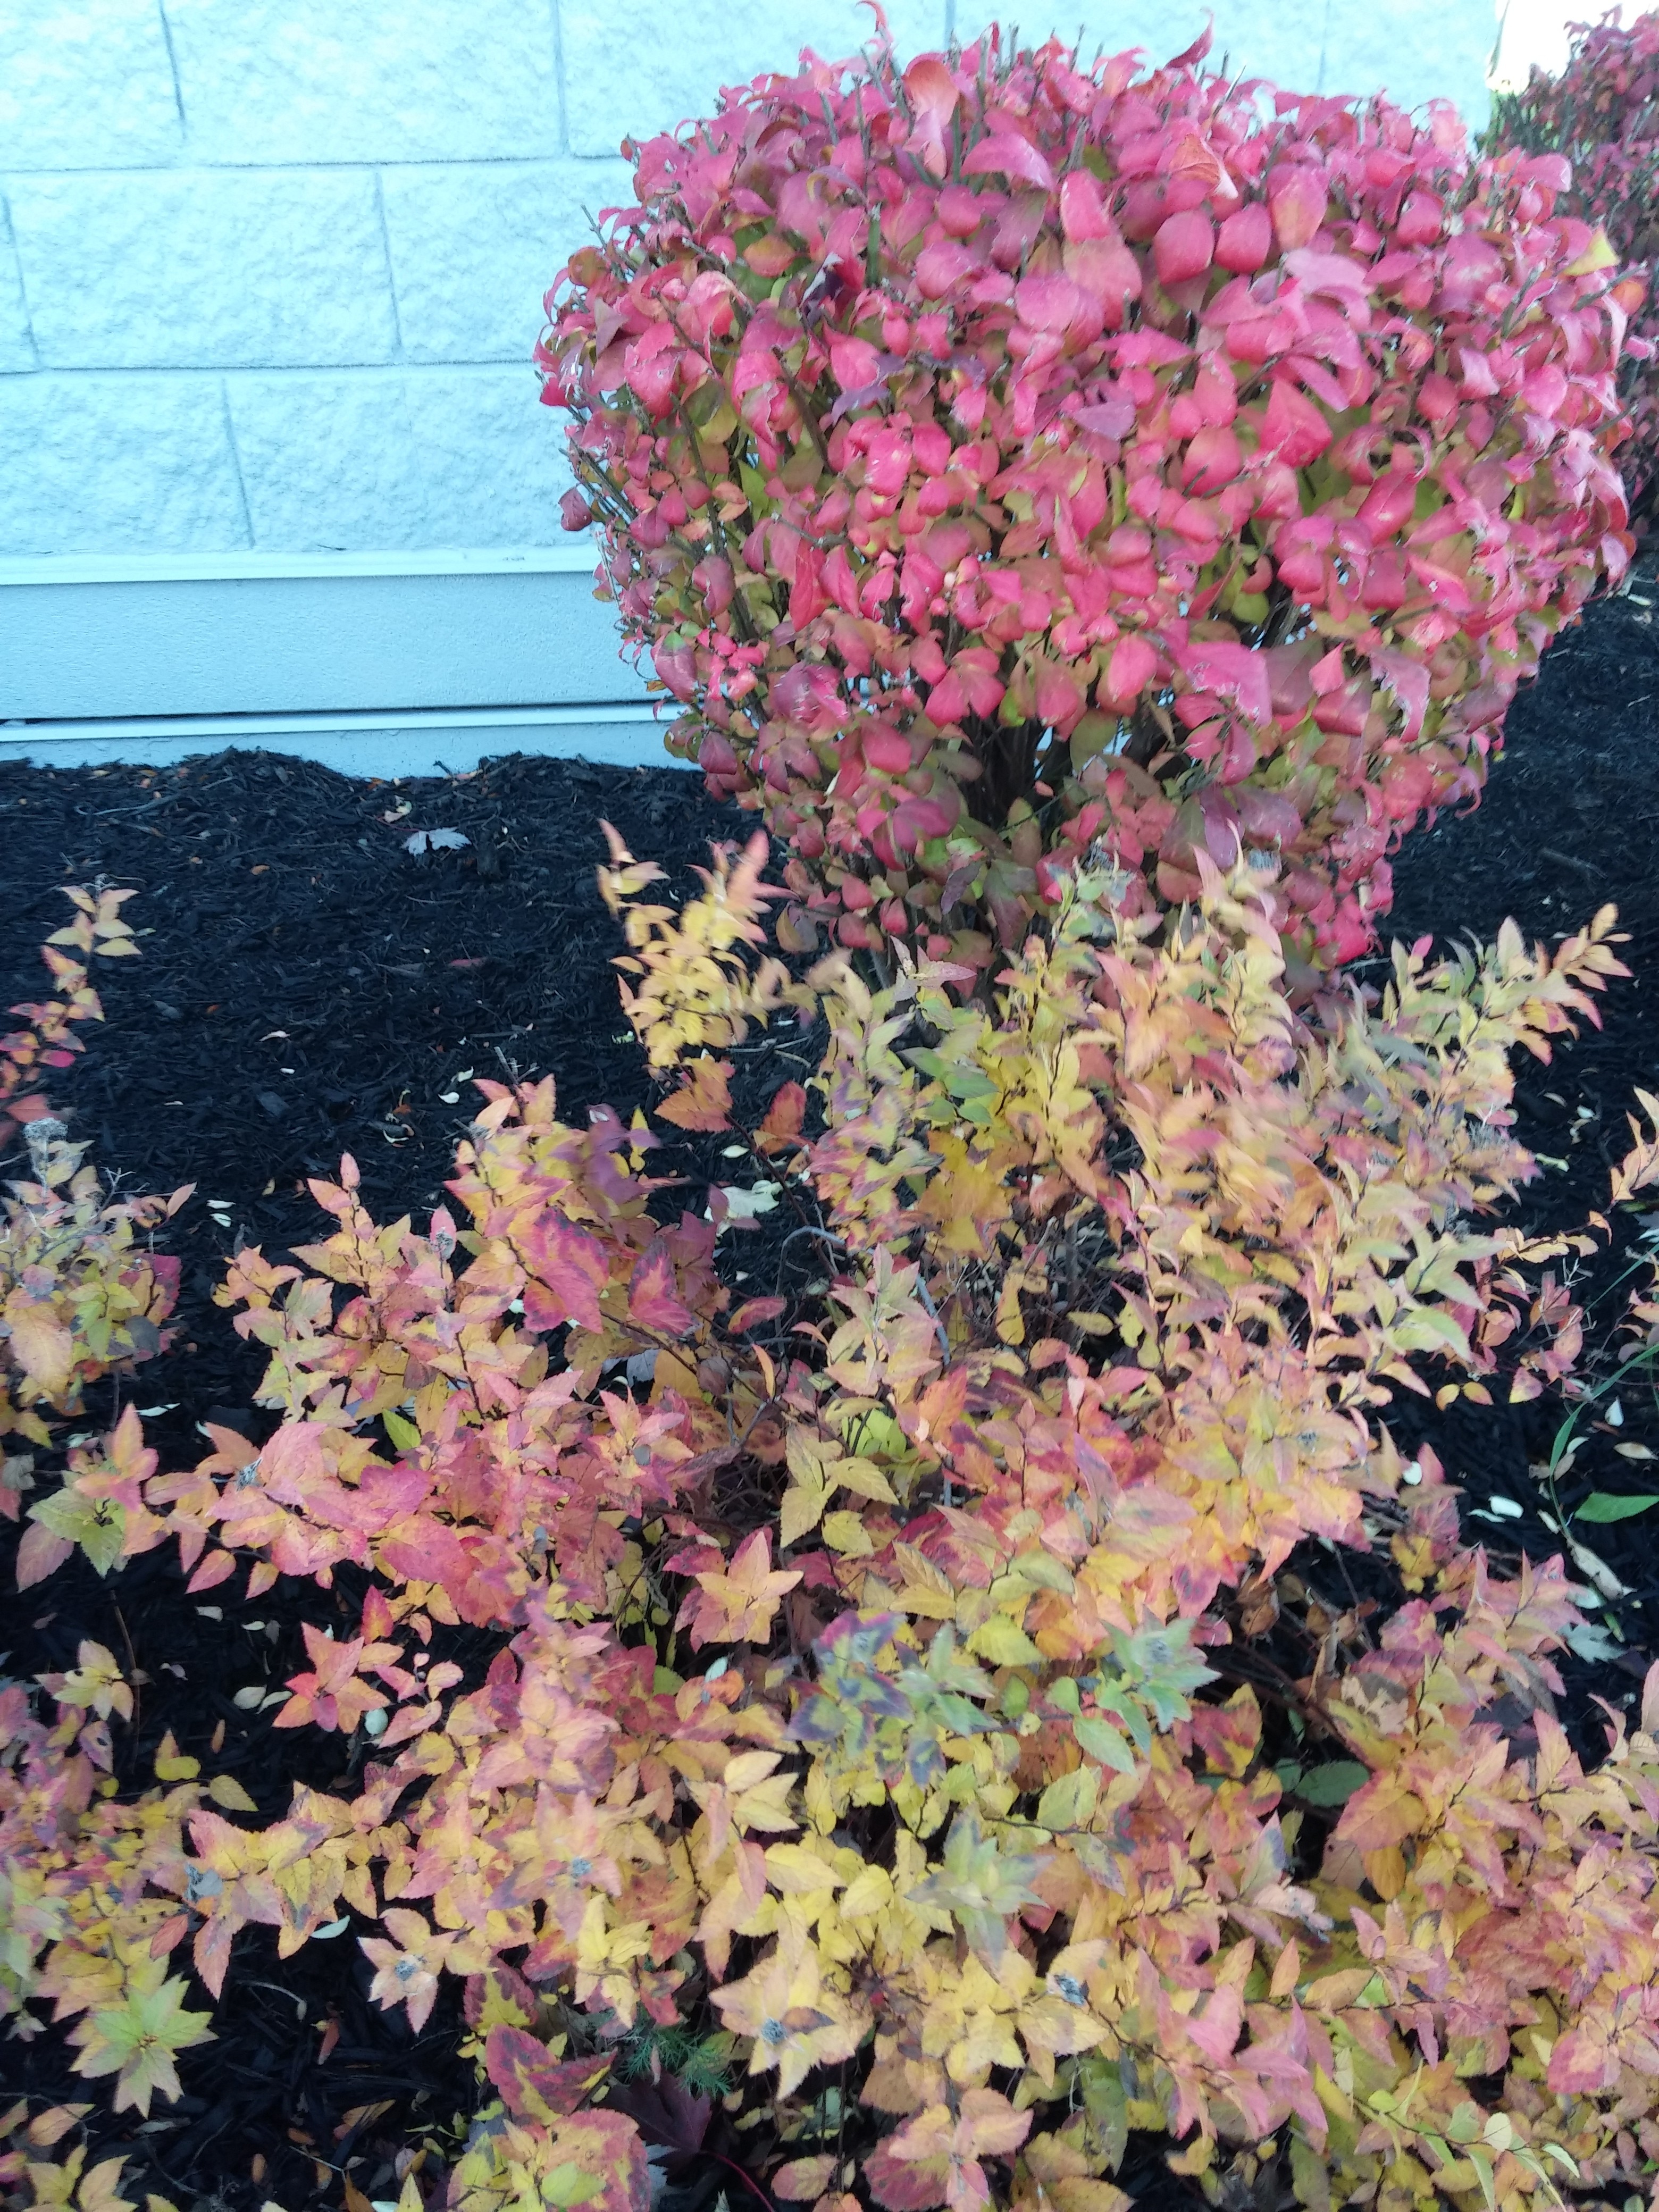
Don’t forget to add seasonal color and interest in your landscape. Here is a burning bush and a spirea that brings excellent fall color
Clean Up:
Remove all of the large debris from the landscape with your hands. Rake out around the bush. Blow out the bush in different angles and maybe shaking it to get the leaves out. Repeat any steps as needed. Blow or rake to a pile. Be careful not to pick up more mulch than what is needed. Once the bulk of the debris is picked up; be sure to blow or rake the debris out of the grass. The debris can be placed on a tarp and dragged to your disposal area or use a trash can, bucket or lawn refuse bag. Don’t leave your tools on the sidewalk where someone can trip over them.
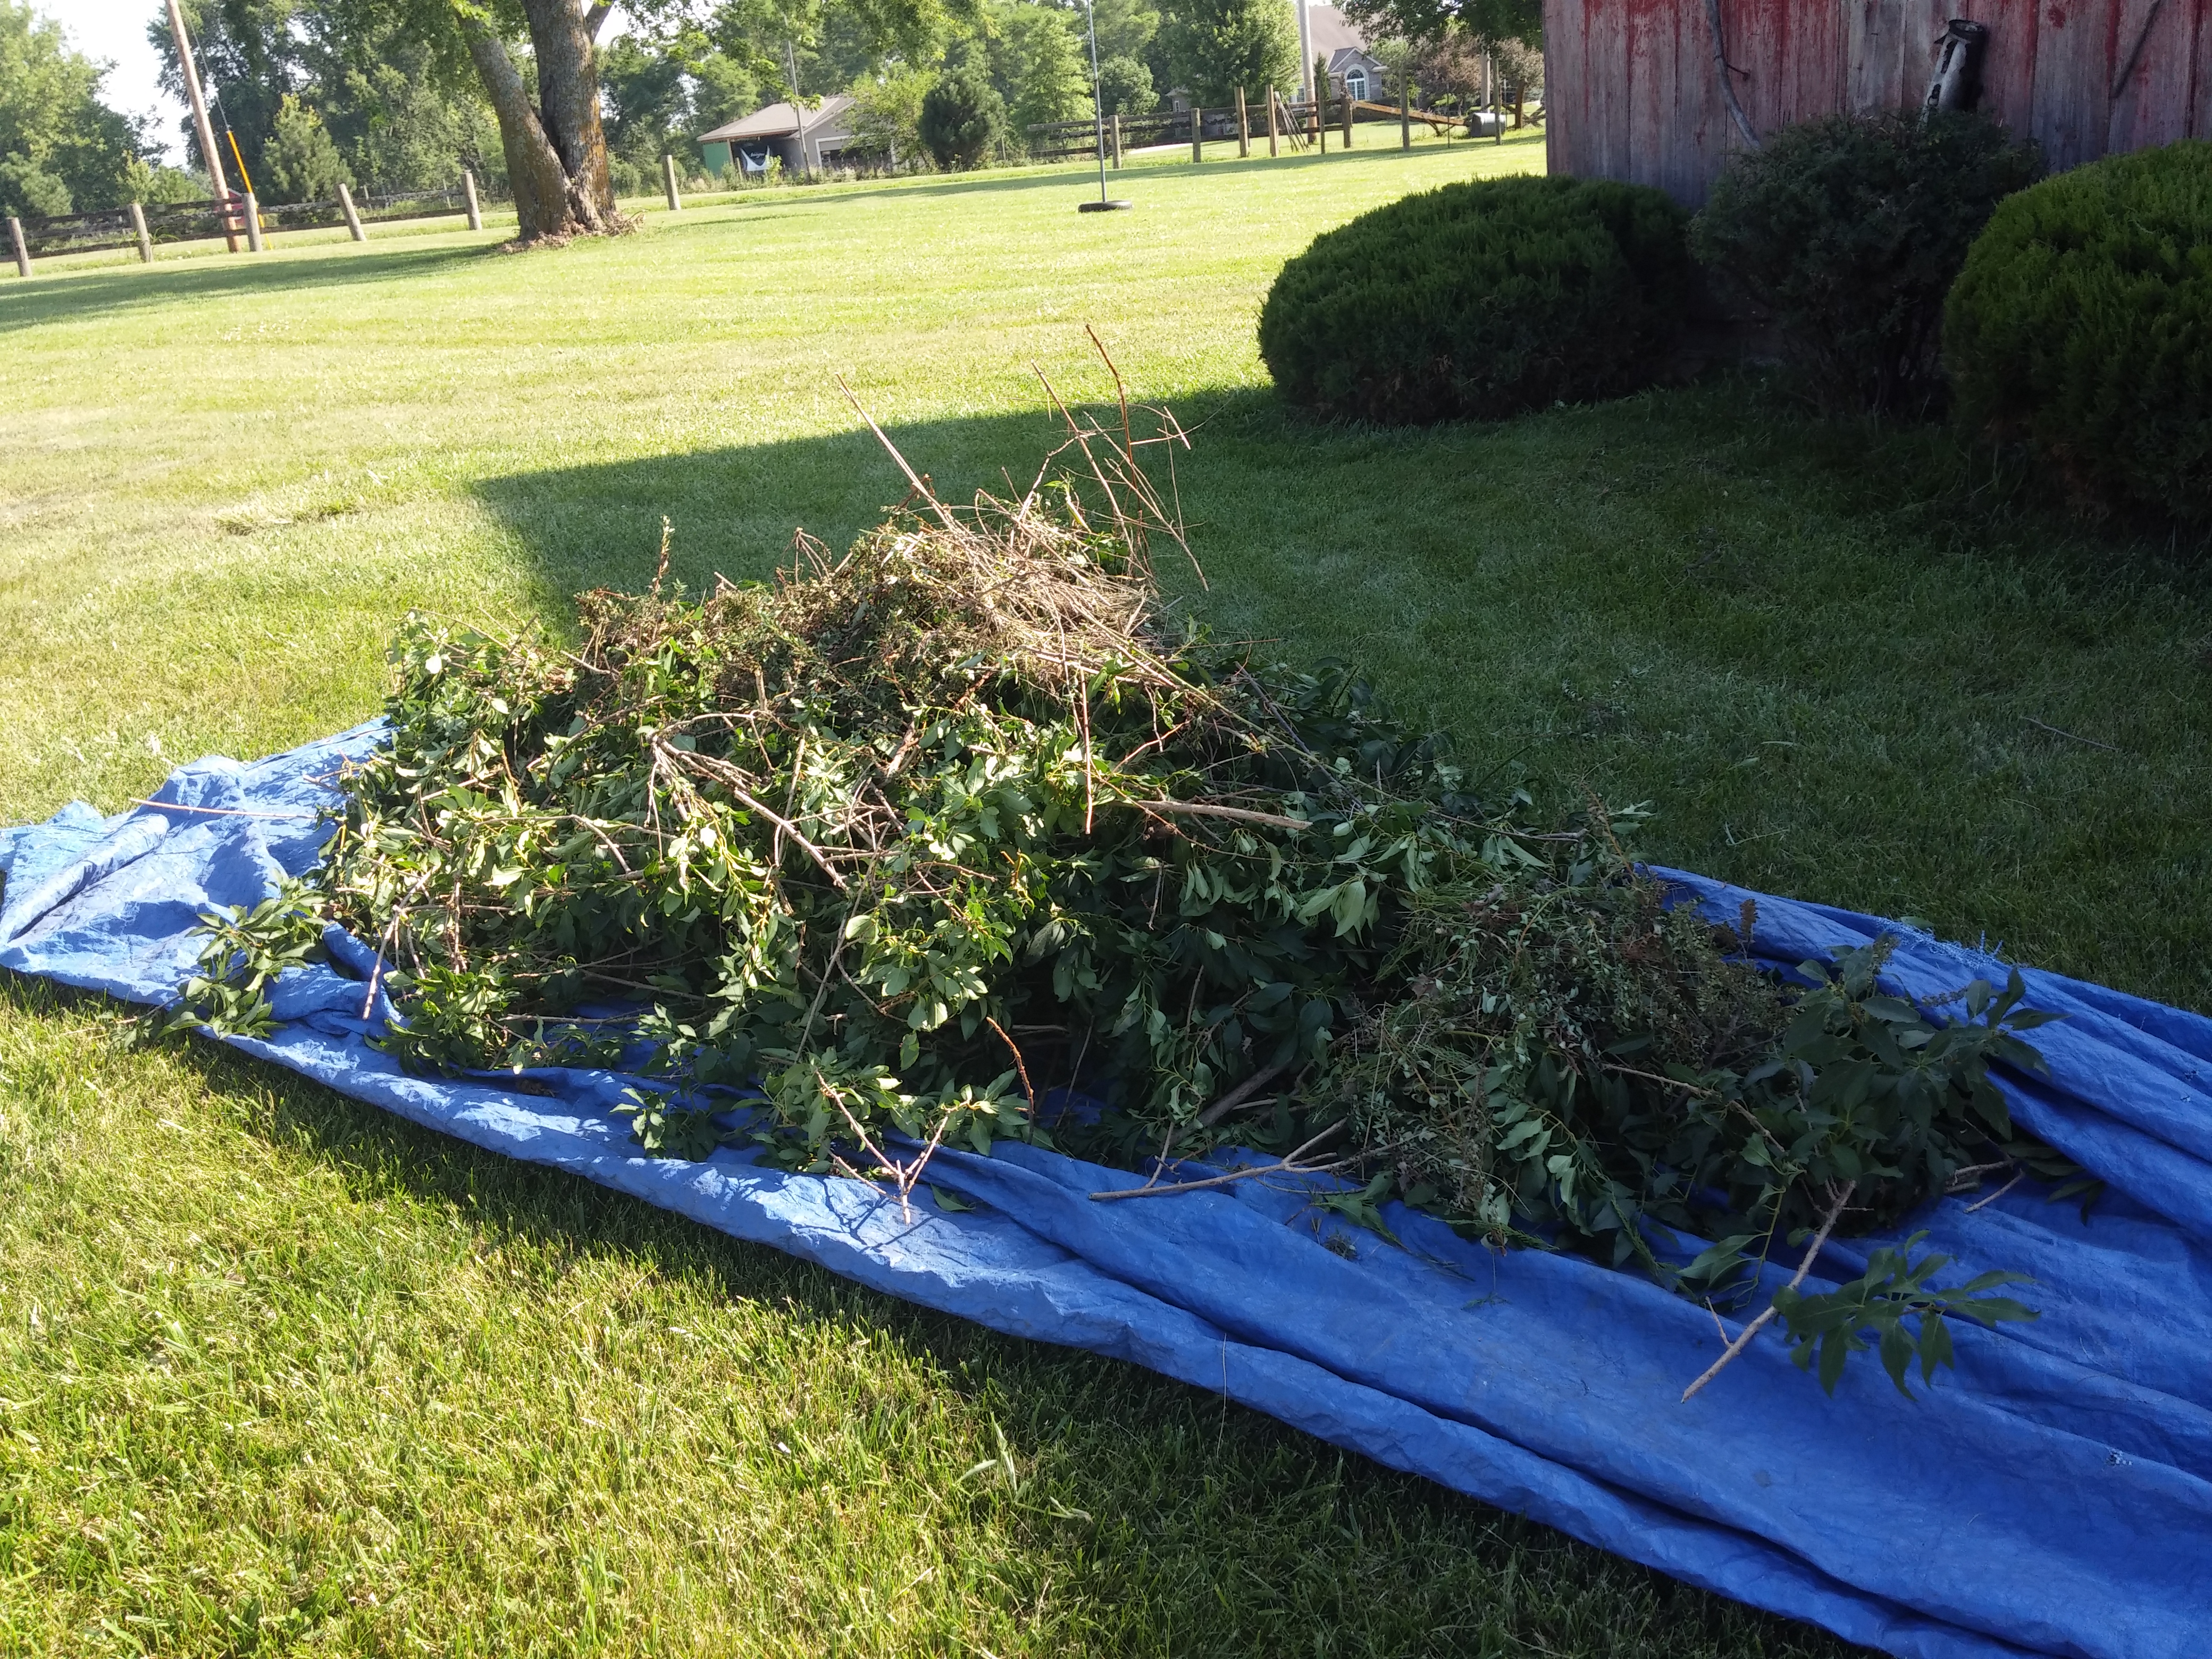
Rake the trimming debris into piles to place in paper lawn bags or rake directly into a tarp and haul off
Everyone loves a manicured landscape. If you can put your bush trimming on a monthly cycle on your weekend to do list; this will keep your bushes manicured at all times and will save you future costs of removing overgrown bushes; plus, it will help you catch any future problems that may be approaching; saving you hundreds or even thousands in bush replacements, wood rot issues and landscape overhauls.
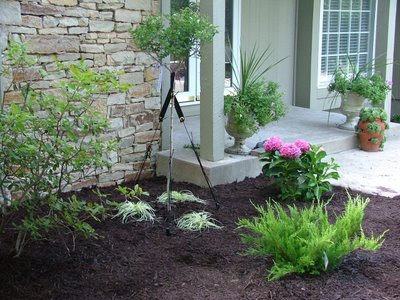
A manicured landscape adds beauty and value to your home
Dream Home Enterprises
816-779-9999
![]()
#tree #bush #bushes #landscape #landscaping #kansascity #maintenance
Leave a Reply